
Thanks to all that came out to see us us at Kansas city Makerfaire. I will be updating and adding to this post so stay tuned.
So, you want to make your own remote controlled lawn mower like in the movie "Honey, I shrunk the kids" ? You should. This is a fun project that is very practical and makes mowing the lawn a lot more enjoyable. You will learn a few new skills along the way that will help you be a better maker.
First, a disclaimer. Robots are dangerous. Lawn mowers are dangerous. Robot lawn mowers are the danger of mowers times the danger of robots. KC Proto is not responsible for any damage to anything living or inanimate. This project was possible because of the spirit of open source. Pay anything you learn forward. Suggestions on improvements are welcome.
I. Gathering materials
There are a lot of parts to this project and a few ways to customize it to suite your purposes. These are the supplies I used and they work well.
1. Lots of angle iron and steel- I used 2 inch angle iron and, in retrospect, it was a little bit of an overkill. It is strong enough for me to ride though.
2. Mobility scooter motors- There are a lot of used motors on ebay and they are all pretty similar. If you can get them with the tires on, it will save you a lot of time.
3. Lawn mower - Find a cheap push mower. Any mower should work but make sure it is reliable and it starts.
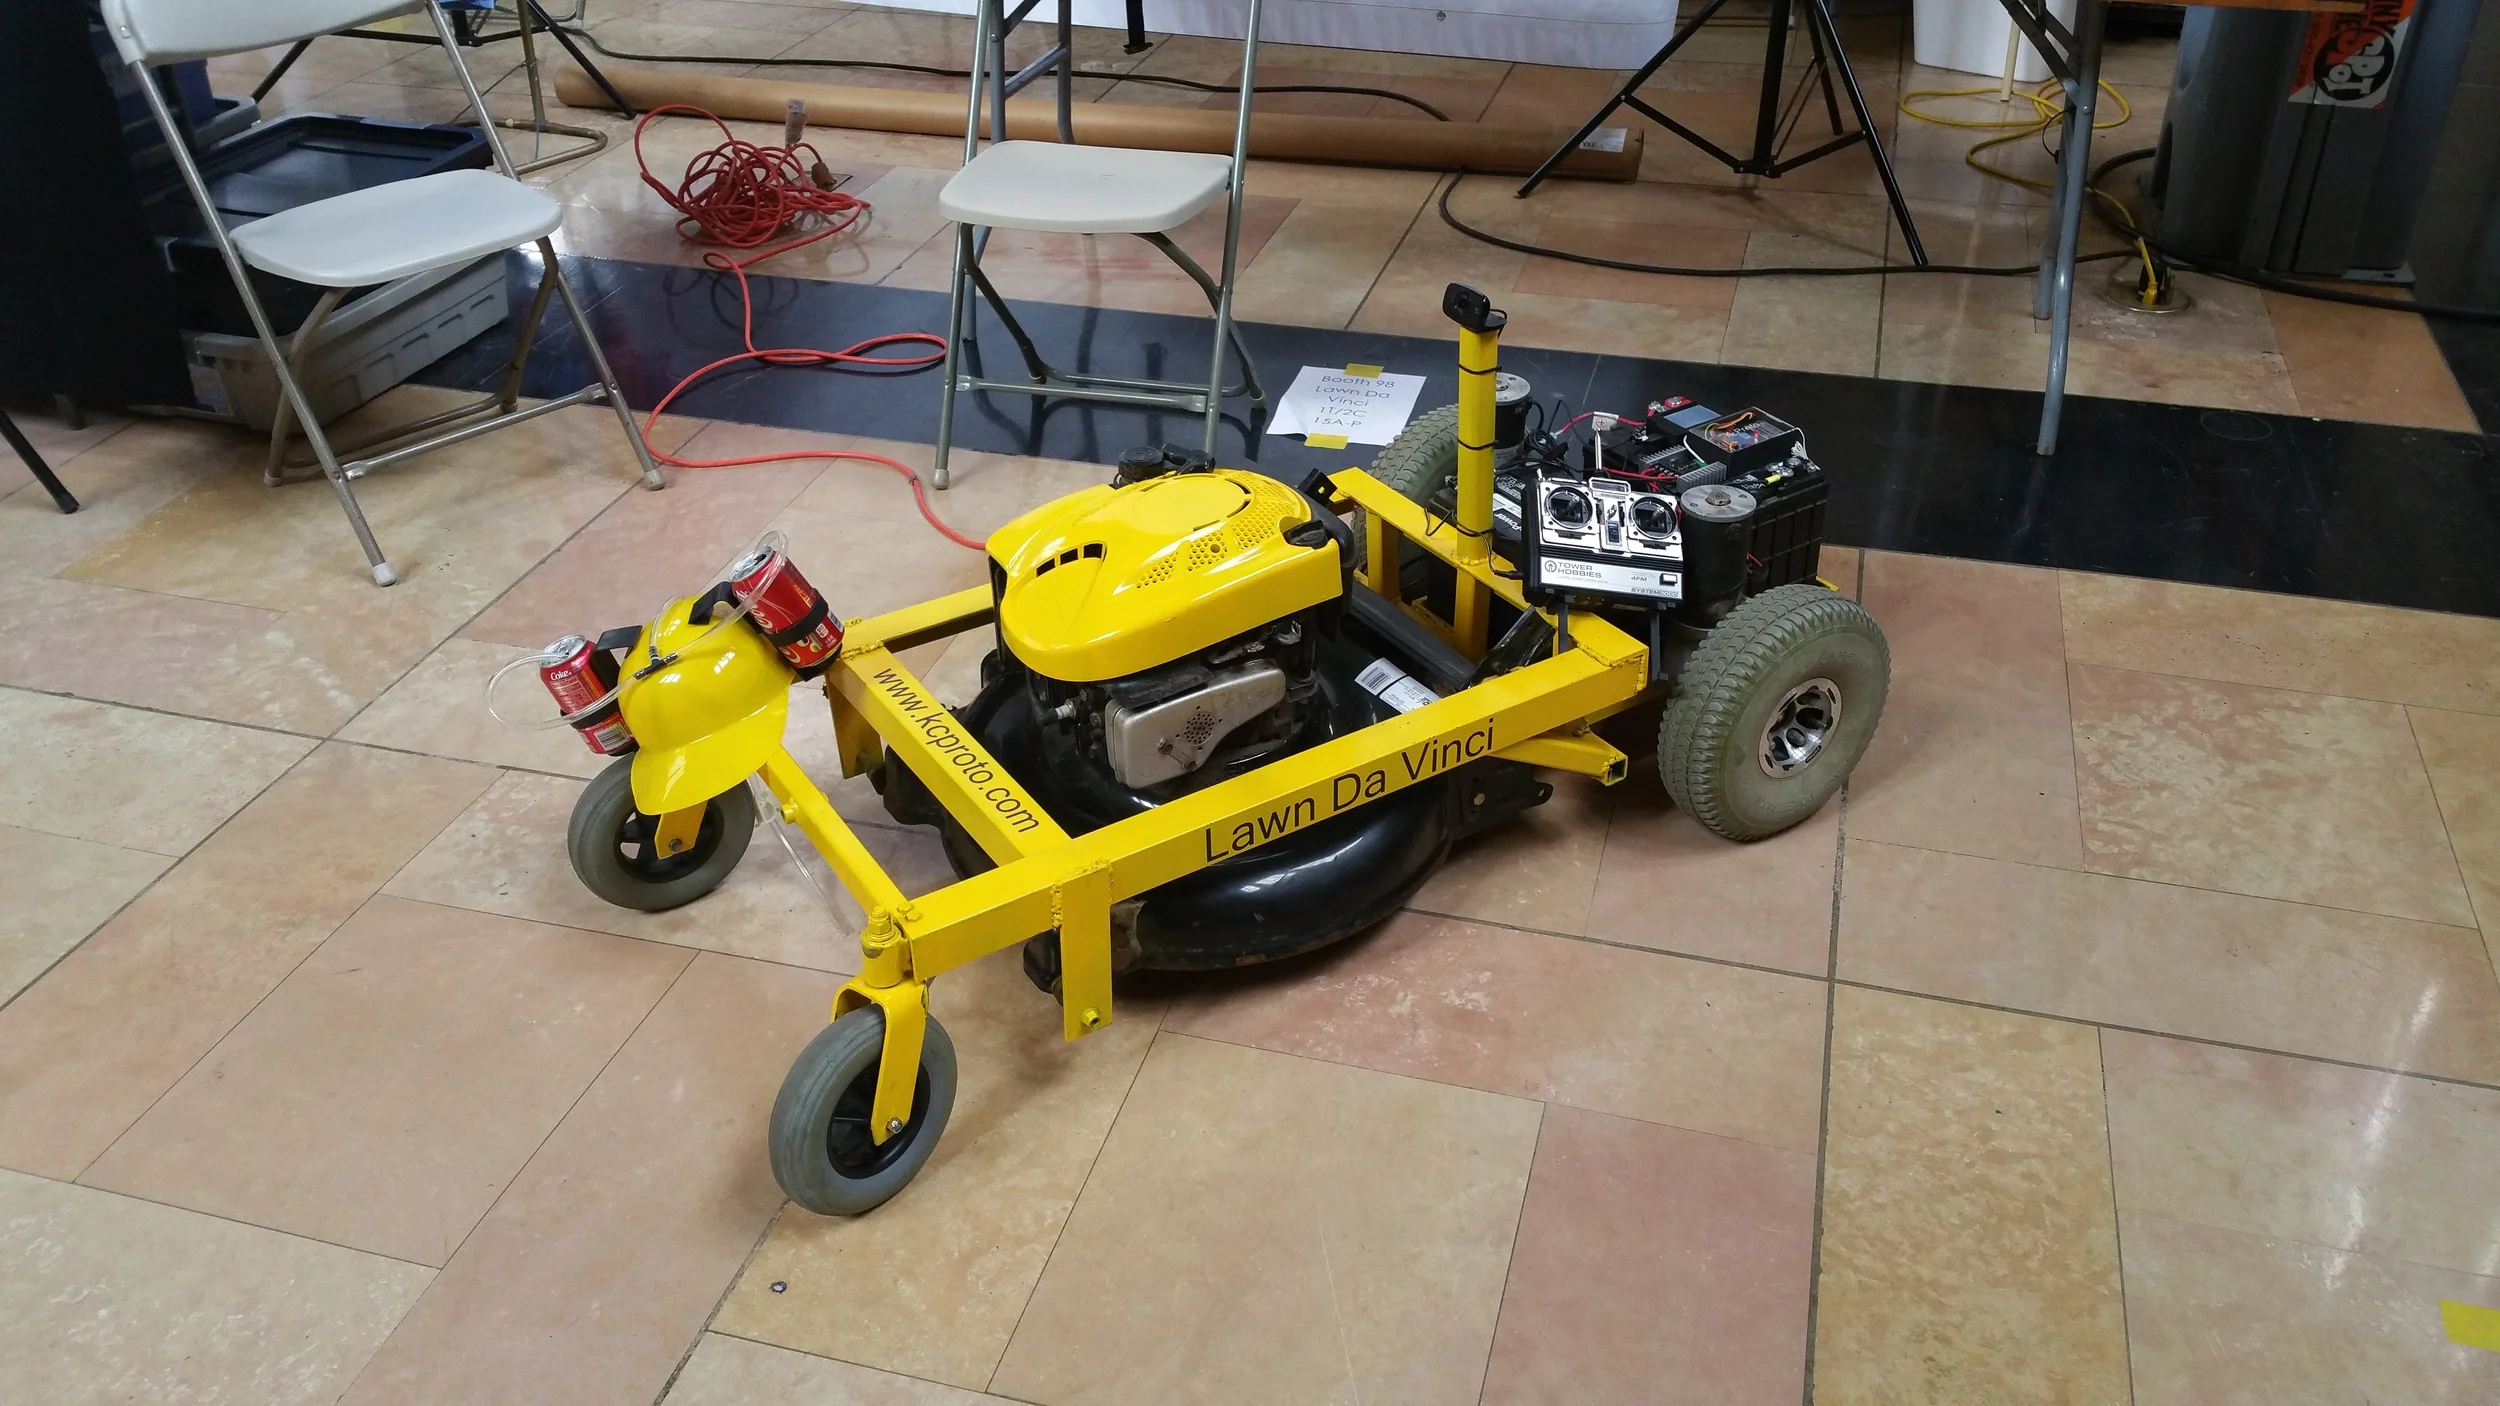
4. RC remote- I used a Tower Hobbies System 3000 and it works well.
5. Other electronics- There are a few ways to do this but I used an arduino pro mini, a raspberry pi, a Sabertooth 2x25 motor controller, a relay and a webcam. More on this later.
6. 2 Batteries- Pretty much any 12v car or marine battery should work. 2 trickle chargers fill up the batteries in between mowings.
7. Beer hat- Optional, but highly recommended.

II. Planning
You don't have to make a full CAD model but a little planning goes a long way. I modeled a rough plan of what I was looking to make in Onshape and is available to view here for reference. You will want to make sure your batteries, motors and lawn mower all fit together well and that you won't have any clearance issues.

III. Making the frame
If this is your first time making something like this (like me) you are going to need some help and the right tools. If you are in the Kansas city area, I recommend going to a place like Hammerspace Workshop. The right welding equipment, saws, grinders and help are going to make this a lot easier. Measure twice cut once.

IV. Painting the frame
Time to put some lipstick on that pig of a frame you have made. Doing this step right will make your mower rust resistant, cover up a little bit of your weld job and ensure it lasts long enough pass down to your children. Your frame is going to be very greasy and dirty at this point so clean it very well with a degreaser. Putting your frame up on blocks will help you get into some of the harder to reach places. If you are painting in your garage, think about what size your tarp needs to be and get the size larger than that. Let's just say I didn't follow this advice. Since you are painting on raw steel, primer will help make sure you have a nice even coat. I used Krylon Rust Tough enamel primer and paint from my local auto parts store with good results.

V. Attaching the mower and wheels
The best way I found to approach this was to use existing wheel hardware to attach to to the frame. I had my planned mower blow up mid project so I had to improvise with a different mower. Before you take off the wheels, take note of the deck height and replicate that in your design. When attaching your motors, you may notice that they don't roll. This could be because the brake is engaged and or there are governors on them. You can remove those. We don't need safety.
VI. Wiring up the batteries and motor driver
Be careful in this stage. You are dealing with 24v of power which is enough to destroy all of your precious electronics or cause you great physical discomfort.
1. To get more power, you are going to wire the batteries in series so connect one of the batteries + to the other battery's -.
2. If you are using the Sabertooth motor driver, you will wire it as follows:
M1A- red wire of right motor (if facing from the back)
M1B- black wire of right motor
B+ - positive terminal of battery
B- - negative terminal of battery
M2A- black wire of left motor
M2B- red wire of left motor
On the Sabertooth motor driver, you will have to set the dip switches for type of input you are going to give it. We are using the rc mode so set the switches as follows:
1-down
2-up
3-up
4-down
5-up
6-up

Next, let's wire up the arduino and rc receiver. I have changed the way I do this from the way it was built originally. To improve reliability and reduce complexity, the motor driver now gets it's signal directly from the RC receiver once it goes through the 2 relays controlled by the arduino, which is always looking for a good signal. The arduino and raspberry pi are powered off of a disassembled car cigarette lighter usb charger which takes the 12v of the batteries down to a clean 5v. I originally had it powered off of the sabertooth but have better reliability this way. There are many ways to kill the motors. You can turn the remote off, push the trainer button, left with the right joystick, or push a button separate key fob and all of these will kill it. The Raspberry pi is only currently being used for webcam streaming. There will be more information on which pins are being used on the arduino in the code.
VII. The Code
It is suggested that you test out the code before you wire to the motor driver. Even after you have tested the code, it is highly suggested that you put your mower up on blocks so that it doesn't run away from you. This is important for you and your property's safety. The code is available here. Standard beer-ware terms apply.
I hope this is helpful for anyone wanting to make a remote controlled lawnmower. If you make one, please send us a picture and we'll post it here.
If you have any questions, contact us.